
How to connect MailPoet to Gravity Forms
Are you looking for the easiest way to connect MailPoet and Gravity Forms? In this article we'll show you step by step how to do it. Spoiler Alert: it's only 3 steps! Let's have you up and running in 2 minutes.
Prerequisites: Since we are going to connect MailPoet to Gravity Forms, we assume you have both plugins installed and configured.
Step 1: Install MailPoet for Gravity Forms
Before we can connect MailPoet and Gravity Forms, we need to purchase and install the MailPoet for Gravity Forms plugin. In the next steps we'll show how easy it is to automatically sync up your form submissions with your newsletters.
Once you have your license you can download the plugin. Go to the WordPress Dashboard of your site, and navigate to Plugins > Add new. Here you can click Upload Plugin and select the plugin file. After installing, make sure to Activate the plugin and enter your license key.
We promise, this was the hardest part.
Step 2: Create or edit a form in Gravity Forms
Now that the plugin is active, Gravity Forms is ready to connect to MailPoet.
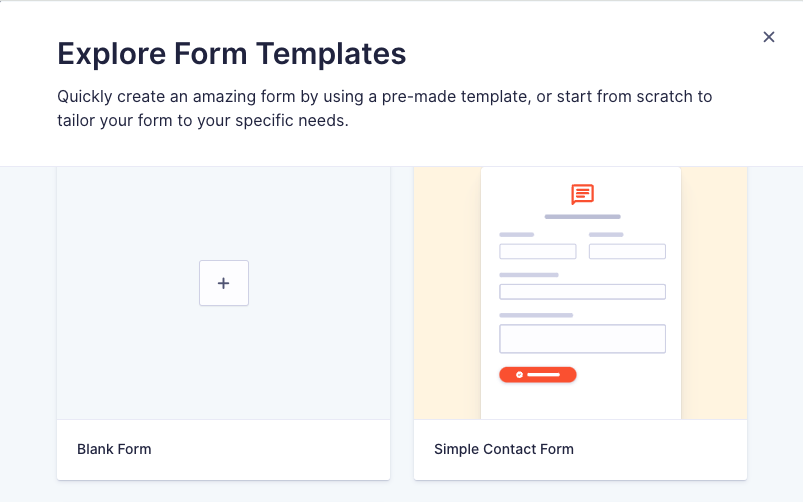
To do so, we need a form that has at least an Email field, but preferably also a Name field. Gravity Forms comes with a few templates out of the box. In this example we'll use their Simple Contact Form template.
Step 3: Add the MailPoet Field
Once you’ve set up your form, it’s time to integrate it with MailPoet.
On the Form editor page, go to Add Fields > Advanced Fields. Here you will find the brand new MailPoet Subscribe field. Click and drag it to your preferred position.

That was basically it. Save the page and call it a day? Well, maybe; but let's get into the settings a bit.
As you can see, the field renders a list of checkboxes representing all your available MailPoet Newsletter Lists. While this is a very valid use case, maybe we only want to show a single checkbox; and have a different label next to it.
When you click the field in the editor you can change the behaviour of the field under Field Settings. There you'll find the Customize Fields setting, where you can select which checkboxes to show on the form.
You can toggle off any unwanted newsletters, and change the label of the newsletter.
(Optional) Step 4: Configure the MailPoet field
We know, we said only 3 steps. And technically; you are most likely already done. But there are some settings you could change. Scrolling down on the Field settings you come across the MailPoet section. Here you can configure the following:
Action: Subscribe / Unsubscribe
By default the field will select Subscribe as action to perform; but you can also use this field to Unsubscribe a contact from the selected newsletters. This way you can create a specific unsubscribe page on your website.Email Field
This drop down shows all available fields to use as the email address of your MailPoet Newsletter Subscriber. This will automatically be populated with the first available Email field.First and Last Name Field
Two drop down fields can be used to change the field mapped to the First and Last name on your MailPoet Newsletter Subscriber. These will also be automatically populated with the most likely field.Subscription Configuration
When a user subscribes using the field, you can configure what actions MailPoet should take at that time. These toggles are set to the default MailPoet configuration.Send Confirmation Email
Whether to send the user a confirmation of their subscription.Schedule Welcome Email
Whether to schedule a welcome email for the user.Skip Subscriber Notifications
As a site administrator, you will receive a notification of every subscriber. This setting wil prevent that from happening.
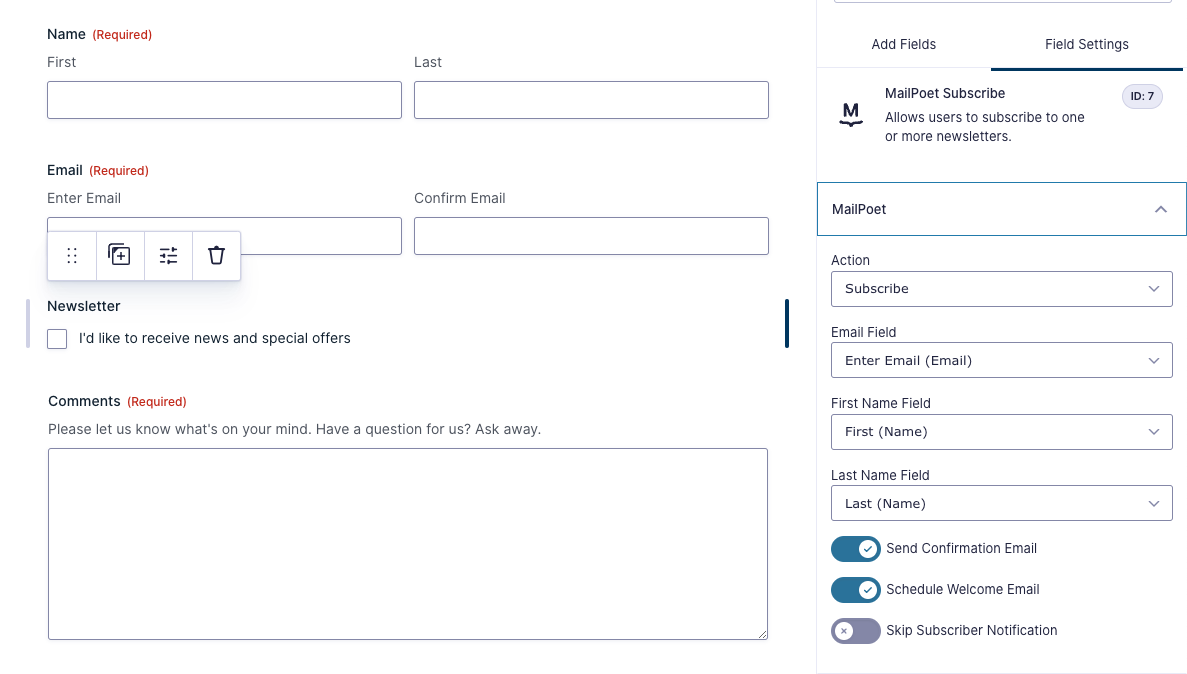
As you can see, the MailPoet field was already automatically configured according to our form.
Now you can save your form, and watch your MailPoet newsletter lists grow without further hassle.
Final Thoughts
At Apogi, we believe in explicitly opting in to newsletters. There are few things in life more annoying than finding out you have been added to a newsletter after making a purchase or filling out a contact form; without your consent. This is why our plugin takes the opt-in by default approach with this field.
What about all my existing entries?
Your form might already have a lot of submissions. With MailPoet for Gravity Forms you can bulk import all those collected email addresses into a newsletter list in just a few clicks.
Get your license today!
We hope we have showed you how easy and powerful MailPoet for Gravity Forms really is. Get your copy today. A license provides you with a year of support and updates. But even if your license expires, you will still be able to use the plugin.