Connect MailPoet Custom Fields to Gravity Forms Like Never Before
MailPoet provides a way to expand on the subscriber information with Custom Fields. In this post we'll take a look at how you can add these fields to Gravity Forms, take advantage of its Conditional Logic and how it can manage your MailPoet segments.
Most plugins that integrate MailPoet with Gravity Forms rely on a feed-based add-on approach. You create a separate Feed and manually set up which MailPoet custom field should map to which Gravity Forms field. While this approach works for basic use cases, it quickly becomes limiting as your forms become more complex.
A static mapping means you can't easily use Conditional Logic to make a practical form. Want to change which field is mapped to a Custom Field based on user choices? With traditional add-ons, you're out of luck or stuck building complex workarounds.
Meet the MailPoet “Custom Field”: Reversing the polarity
At Apogi, we love the flexibility of Gravity Forms. We wanted to create a plugin that applied that same flexibility when connecting it to MailPoet, and a Feed Add-on just didn't do that for us. This is why we chose to create the MailPoet Field instead of relying on a Feed Add-on. So, for Custom Fields, we weren't about to change that behavior.
Since you already have to create a Custom Field in MailPoet, we thought it would be unintuitive to have to recreate that field in Gravity Forms, copy over the values, and set up a mapping. What happens if the values change on the Custom Field? Yes, you'd have to update your Gravity Forms field too.
Our "Custom Field" for MailPoet reverses the mapping by selecting the MailPoet Custom Field on the field itself. It will then mimic the field style and field values. Let's look at an example.
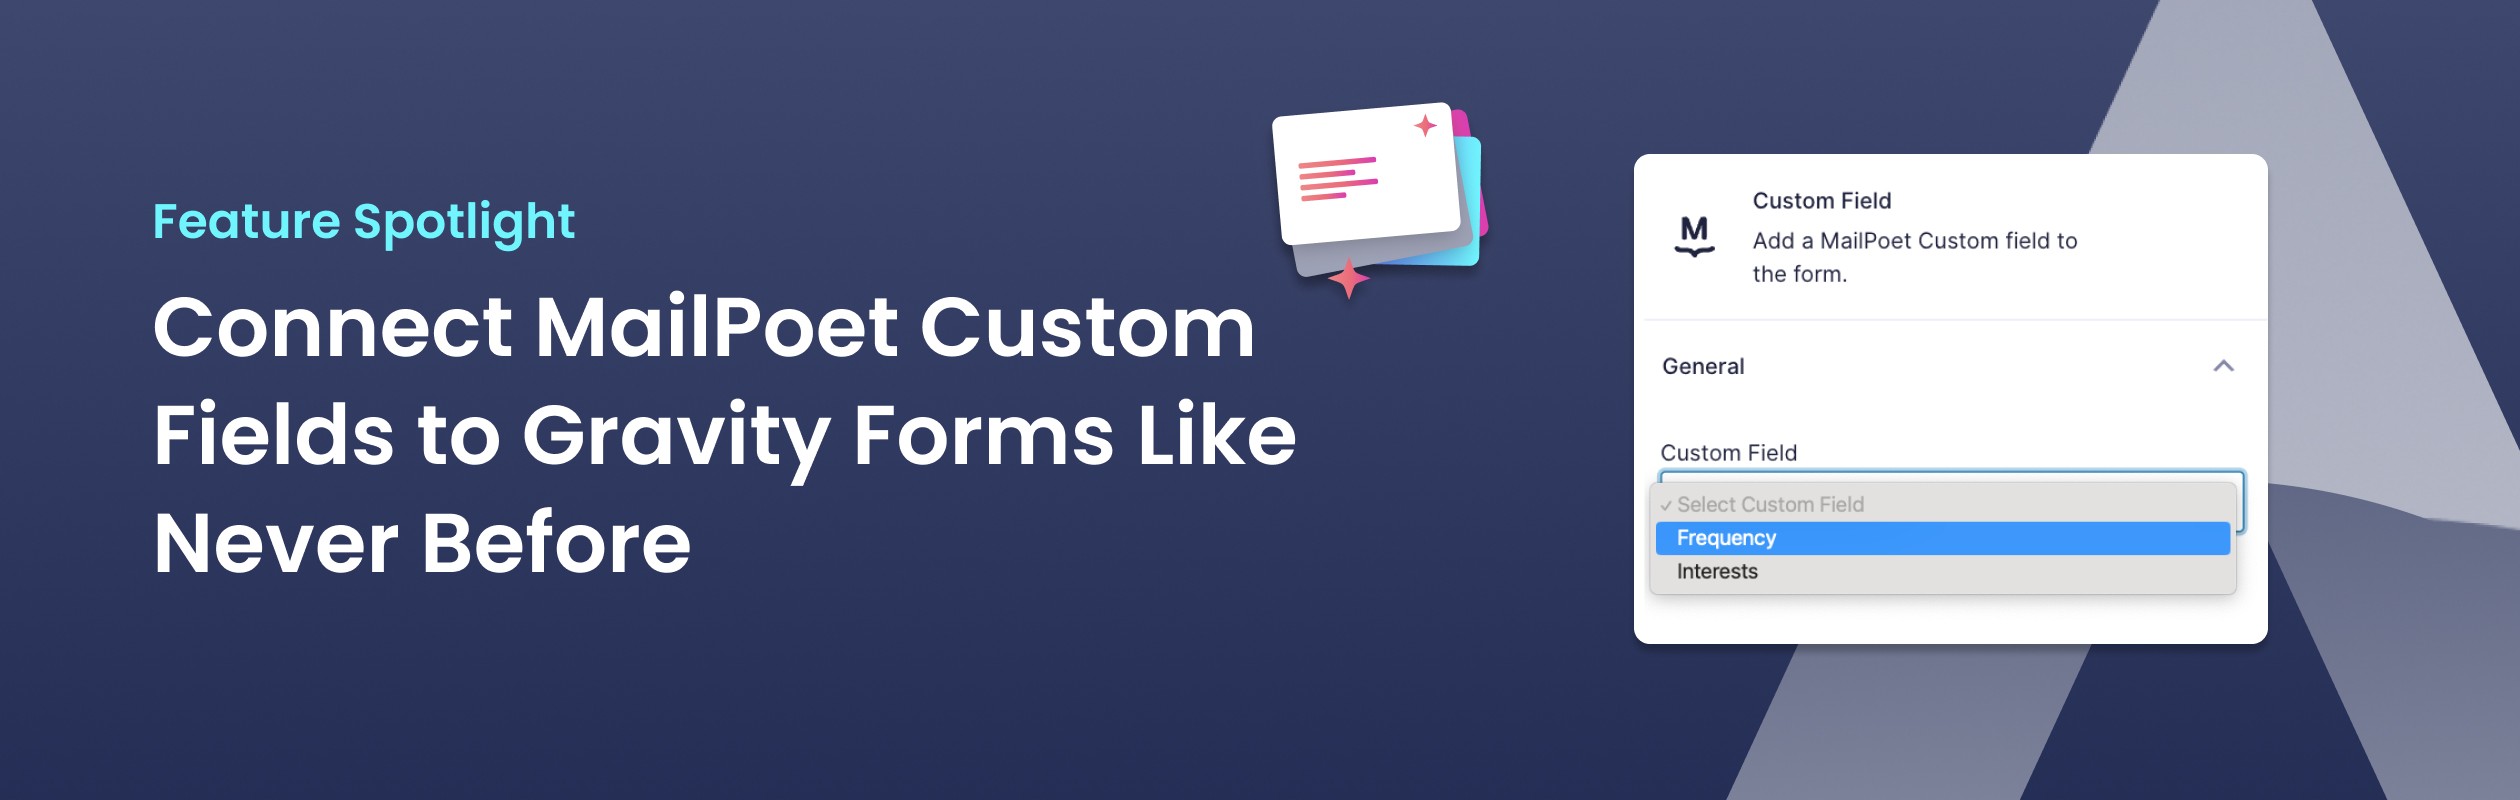
On our MailPoet installation, we have two custom fields: A radio field called "Interests" and a dropdown called "Frequency". We are going to add these custom fields to our Newsletter form.

First, we add a MailPoet "Custom Field" to our form. When editing the Field settings for that field, we select the Custom Field from MailPoet that we want to use.
And that was already it. Save the form, and the fields are added. We think it can't be easier than this. No need to select the correct field type, copy values, or set up the label; it just works.
Combine Custom Fields with Conditional Logic
Sometimes, certain values on a Custom Field are only relevant when the user has selected a certain value on a different field. With MailPoet and the traditional Gravity Forms plugins, you cannot solve this because you can't select the same field multiple times on a single form. With our Custom Field, you can!
Let's say that, if a user selects A "Frequency" of "Once a month", the "Accounting" and "Marketing" options don't make sense on the "Interests" field. To set this up, we duplicate the "Interests" field and disable the options we don't need for that situation. After that, we set up a conditional logic to only show that field when "Frequency" is set to "Once a month". For the first field, we set the opposite condition.
So now, when we check out the form, you can see that the "Interests" options change based on the value of the "Frequency" field.
This option creates a very clean user experience with your form, as it only shows what is relevant.
Note: Disabling options is currently only possible on a radio field.
Why Choose MailPoet for Gravity Forms?
With MailPoet for Gravity Forms, you get more than just another integration. You get a genuinely flexible and user-friendly MailPoet solution that allows you to use all the advanced features of Gravity Forms, such as Conditional Logic and dynamic field visibility, right within your forms. Whether you’re building multi-step onboarding forms, segmented sign-up flows, or just want to keep your forms clean and simple.
Our Custom Field is a absolute game changer for anyone who wants their forms to be smarter, easier to manage, and better aligned with user needs. Ready to see how easy and powerful your forms can be? Get the latest version of MailPoet for Gravity Forms, give it a try, and start building smarter forms today!